


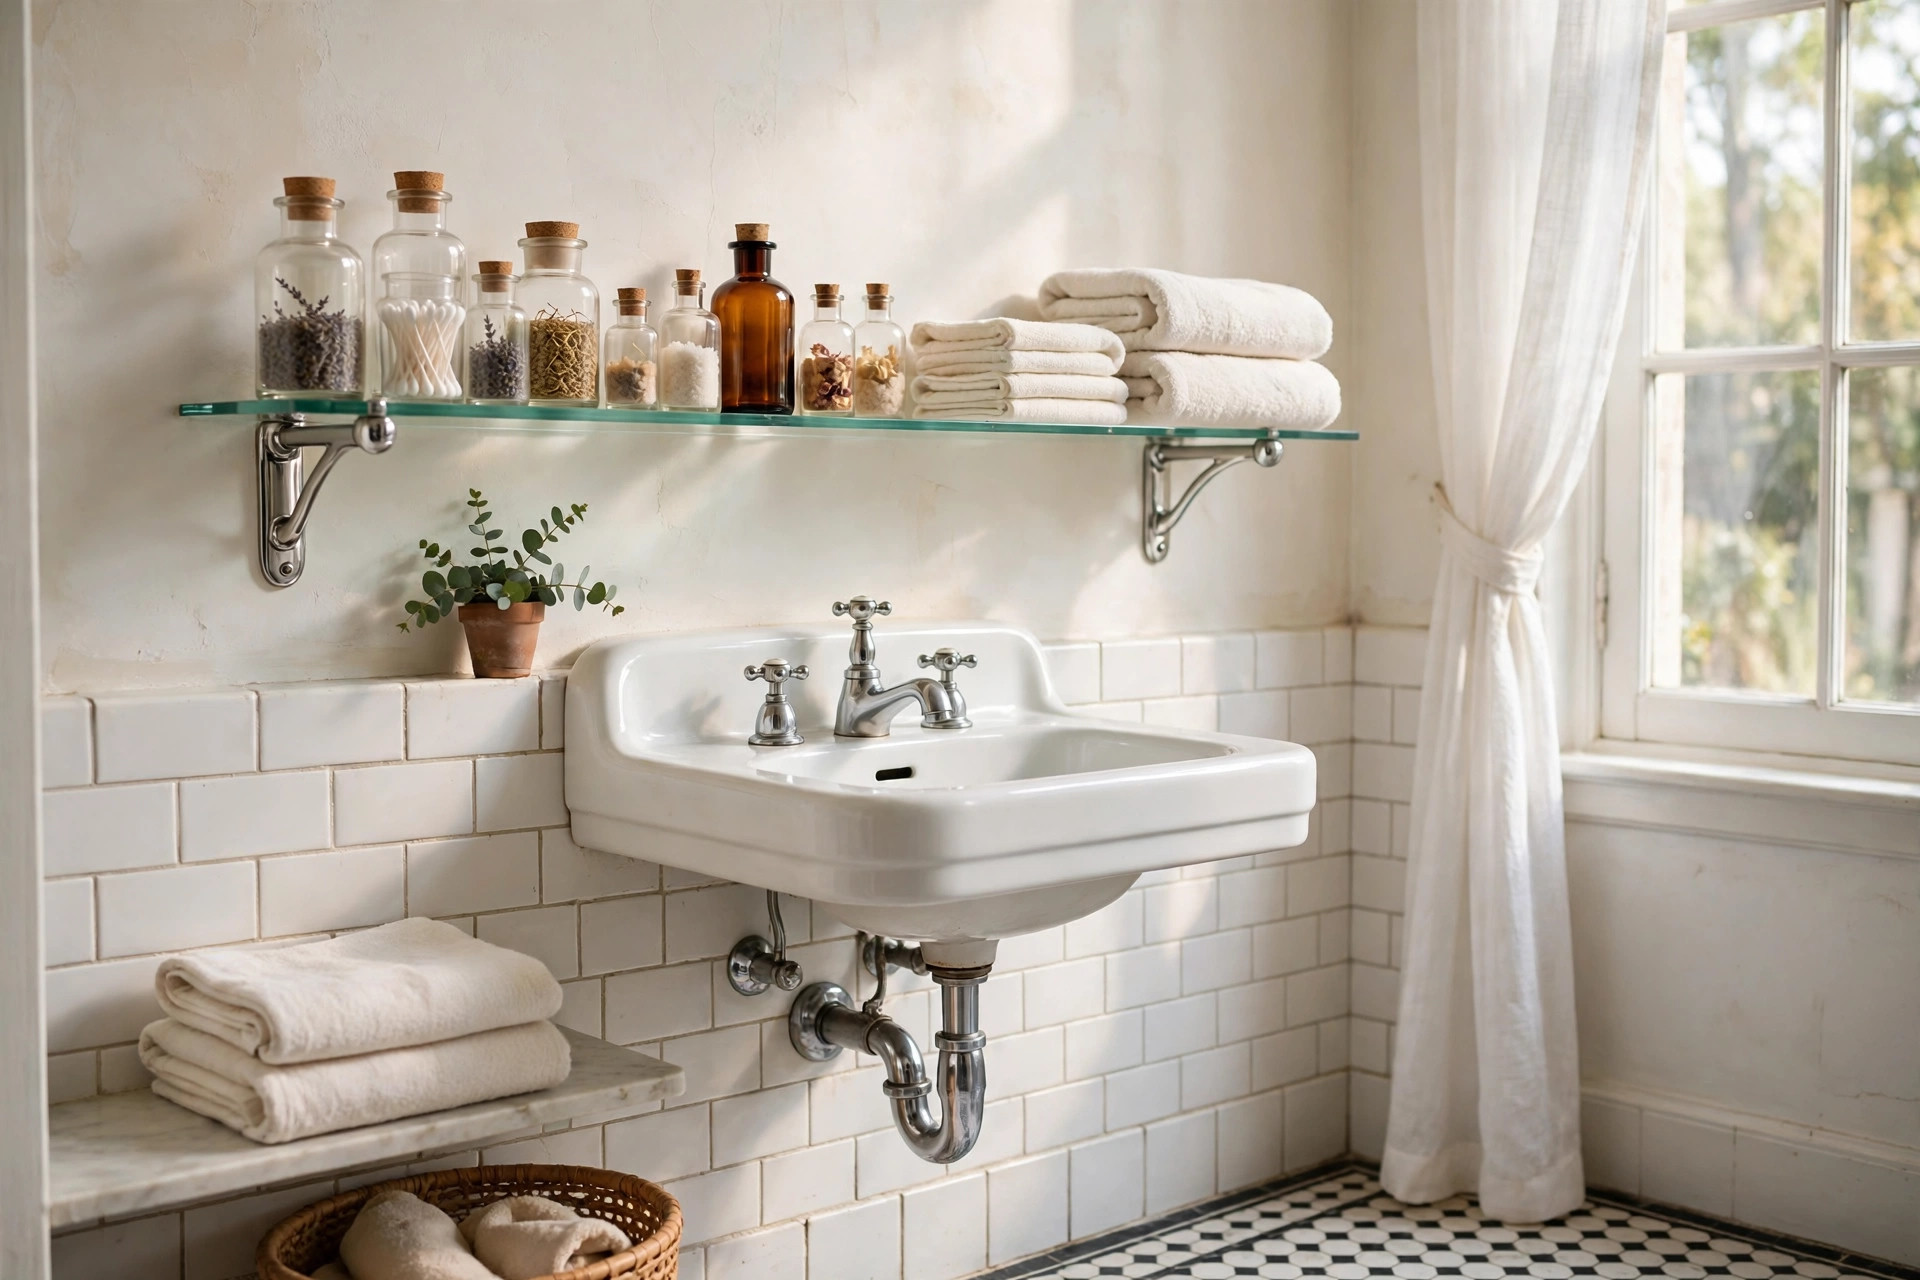
Knowing how to fix a wobbly glass shelf matters more than it might seem, because a glass shelf in a bathroom is not like a wobbly wooden one in the garage. It holds heavy bottles, sits above hard porcelain and tile, and if it gives way the result is broken glass everywhere. The good news is that most wobbles have a simple cause — a loose bracket, a fixing that has worked its way out of the plaster, or a shelf that was never quite level to begin with — and most of them can be put right in under an hour with basic tools.
First, Make It Safe
Before you touch anything, take everything off the shelf. Glass shelves in bathrooms are often loaded with shampoo bottles, jars and perfume that weigh far more than they look, and a shelf that is already wobbling should not be trusted with a load while you work on it. Place the items in a box on the floor.
Next, check whether the glass itself is damaged. Look closely at the edges and corners for chips or cracks. Tempered glass — the kind used for most bathroom shelves — is strong, but a chipped edge is a weak point that can fail suddenly. If you find any damage, replace the glass rather than trying to fix the wobble. A replacement shelf in standard sizes typically costs $25 to $60 from a glass supplier or home store.
If the glass is sound, set it aside on a towel on the floor while you work on the brackets. Never lean a glass shelf against a wall on its edge; lay it flat.
Find the Real Cause of the Wobble
A wobble usually comes from one of four places. Work through them in order, and you will find the culprit quickly.
Loose bracket screws. This is the most common cause. The screws holding the brackets to the wall loosen over time as the shelf is loaded and unloaded, especially in bathrooms where humidity makes plaster expand and contract. Try each screw with a screwdriver — you will often find one or two that turn freely.
Fixings pulling out of the wall. If a screw spins without tightening, the wall plug behind it has failed or the hole has enlarged. This is common in old plaster-and-lath walls, where the plaster crumbles around the plug. The bracket feels solid when you push it one way and loose the other.
Brackets that are not level. If the two brackets sit at slightly different heights, the glass rocks on the higher one. Even a difference of two or three millimetres is enough to feel. Check with a spirit level across the top of both brackets.
The wrong bracket for the glass. Some brackets are designed for 6-millimetre glass and will not grip an 8-millimetre shelf properly, or vice versa. If the glass slides or rattles inside the bracket jaws, the fit is wrong. Check the bracket’s specification against the thickness of your glass — most bathroom shelves use 6-millimetre or 8-millimetre tempered glass.
Tightening and Re-Fixing the Brackets
For screws that have simply worked loose, remove the bracket, check the wall plug, and refit. If the plug is sound, a longer screw of the same gauge — 50 millimetres instead of 40, for example — will bite into fresh material and hold better. Tighten firmly but do not overtighten; crushing the plaster around the plug weakens the fixing.
Where a plug has failed and the hole is enlarged, you need a bigger fixing. Drill the hole out to accept the next size of wall plug, or switch to a toggle bolt if the wall is hollow — a spring toggle spreads the load across a wide area behind the plasterboard and holds far more weight than a standard plug. For solid masonry walls, a resin anchor or a larger masonry plug does the job. In a tiled wall, drill through the tile slowly with a diamond or carbide bit and a little water to keep the bit cool, so the tile does not crack.
Once both brackets are secure, check them with a spirit level. If one sits a couple of millimetres high, loosen its screws slightly, pack a thin washer or a folded piece of card behind the low side, and retighten. The goal is for the tops of both brackets to be perfectly level.
Refit the Glass and Stop It Rocking
Clean the brackets before refitting the glass. Dust and grit inside the bracket jaws prevent the glass from seating properly and can scratch it. Many brackets have a small rubber or silicone gasket inside the jaws — check these are still in place and not perished. A worn gasket is a common cause of rattling; replacement gaskets cost only a few dollars, or a thin strip of clear silicone tape works as a substitute.
Slide the glass into the brackets, making sure it sits evenly with the same overhang on each side — usually 25 to 50 millimetres beyond each bracket. Tighten the bracket’s clamping screws gradually, alternating sides so the pressure is even. The glass should be held firmly but not squeezed: overtightening a clamp on tempered glass is one of the few things that can actually break it. Once tightened, press down firmly on each corner of the shelf. There should be no movement at all.
If the shelf still rocks slightly, a thin transparent rubber bumper or a small dot of clear silicone under the low corner will take up the last fraction of a millimetre. Let the silicone cure fully before loading the shelf.
Our Top Picks
- A pair of adjustable glass shelf brackets in polished chrome or brushed brass, sized for 6-millimetre or 8-millimetre tempered glass to match your shelf.
- A set of heavy-duty wall plugs and toggle bolts for plaster, plasterboard and masonry, so the brackets hold firm in any vintage wall.
- A clear silicone gasket strip to line bracket jaws and stop rattling, sized to trim with scissors for a neat fit.
Keeping It Steady
Once the shelf is fixed, keep the load sensible. A bathroom glass shelf is not a storage unit — a good rule is no more than 5 to 7 kilograms spread evenly across it, and heavier items should sit directly above the brackets rather than in the middle of the span. Check the bracket screws every six months, particularly after winter, and re-tighten at the first sign of movement rather than waiting for the wobble to return. A two-minute check now saves a smashed shelf later.

GIPHY App Key not set. Please check settings