


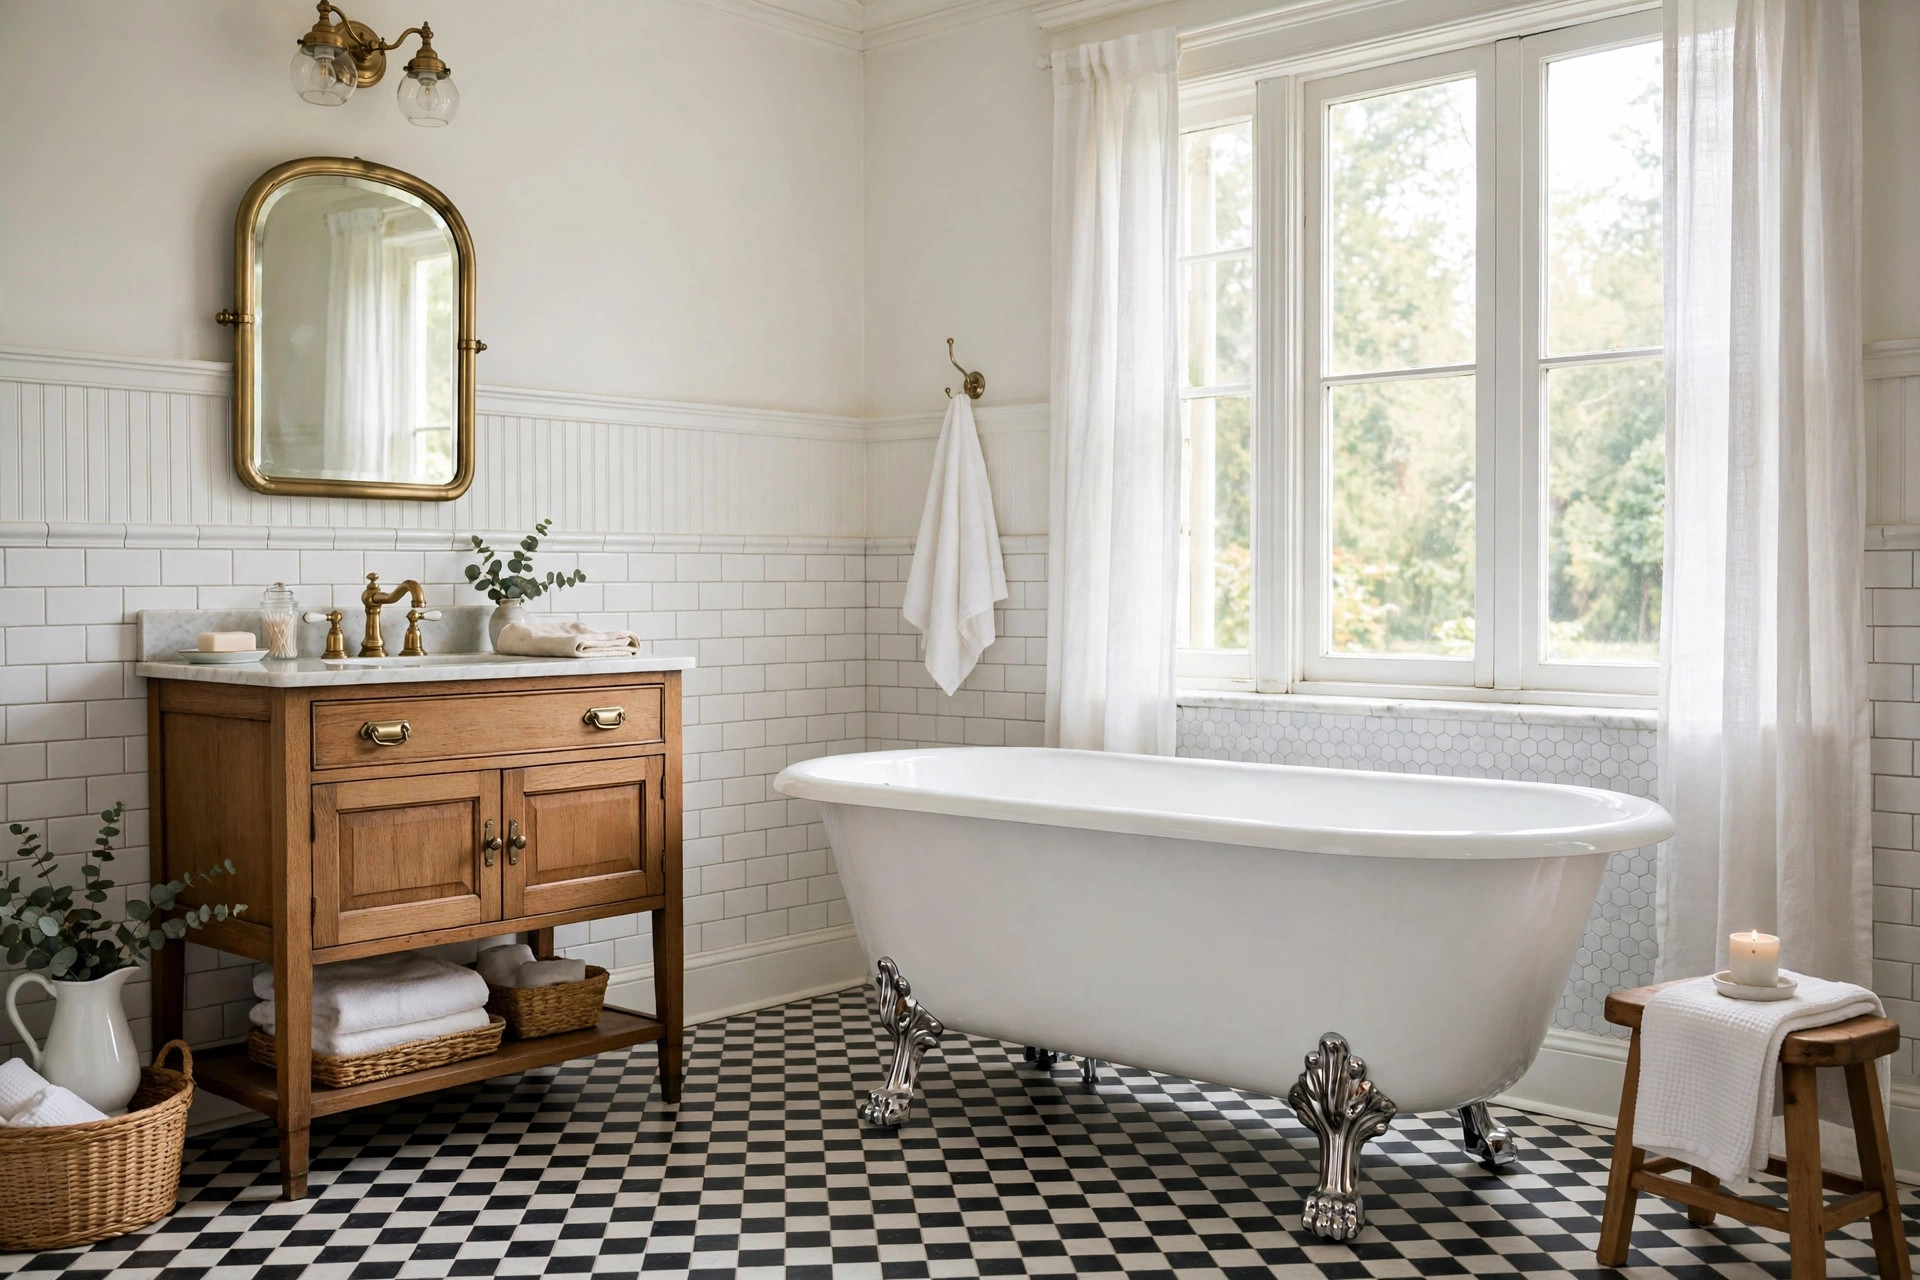
A clawfoot tub is the centrepiece of any vintage bathroom, and finding one second-hand for $100 to $300 can feel like winning the lottery — until you look closely at the rust, the chipped enamel and the grime of a century. The good news is that learning how to restore clawfoot tub on a budget is entirely realistic. Most of the work is cleaning, sanding and painting, and the expensive part — professional refinishing — can often be avoided or limited to the interior only. With patience and around $150 to $400 in materials, you can bring a battered tub back to life.
Assess the Tub Before You Spend a Penny
Start with an honest assessment. Is the tub cast iron or steel? Cast iron is heavy — often 300 pounds or more — and worth restoring; a magnet will stick firmly to it, and a tap with your knuckle produces a dull, solid thud. Check the feet: original cast-iron claw feet are usually removable and often fetch $50 to $100 each on their own, so a tub with all four feet intact is already a bargain.
Look for the deal-breakers. Surface rust on the outside is cosmetic. Chips and stains inside the enamel are fixable. But a crack through the iron, a hole in the base, or a tub that rocks badly on an uneven floor may cost more to repair than the tub is worth. If you are working out how to restore clawfoot tub on a budget, this inspection is the step that protects your budget: a free tub with a cracked base is not a bargain at any price.
Cleaning and Stripping: The Unglamorous Foundation
Every restoration starts with cleaning, and this is where you save the most money by doing it yourself. Scrub the interior with a paste of baking soda and white vinegar, then tackle stubborn stains with a non-abrasive bathroom cleaner and a soft scouring pad. For rust on the exterior, a wire brush and coarse sandpaper will remove the loose material; follow with a rust-converting primer, which chemically neutralises what remains and costs around $10 to $15 a tin.
Stripping the old paint from the outside is dusty, messy work, so wear a respirator and gloves and work outdoors or in a well-ventilated garage. A heat gun and a scraper will lift most old paint, or you can use a chemical paint stripper at about $20 to $30 a tin. Once the exterior is bare, sand it smooth with 120-grit paper and wipe it down with a damp cloth. If the tub predates 1978, test the old paint for lead before you sand or strip anything — a home test kit costs around $10, and a professional test is about $30. Lead paint changes the whole approach, and it is not worth skipping.
Refinishing the Interior: DIY or Professional?
The interior enamel is the make-or-break decision. A professional refinishing job — where the surface is etched, primed and sprayed with a durable epoxy or urethane coating — typically costs $300 to $600 and lasts 10 to 15 years with care. It is the best result, and for a tub you plan to use daily, it is worth saving for. But if the budget will not stretch, a DIY refinishing kit at $30 to $60 can produce a respectable result on a lightly worn tub.
DIY kits work best when the enamel damage is limited to dullness, light staining and small chips. Clean and dry the surface thoroughly, repair chips with the epoxy filler supplied in the kit, sand the whole interior with the fine abrasive pad provided, and apply the coating in thin, even layers exactly as the instructions say. The most common mistake is rushing: each coat needs its full curing time, usually 24 to 48 hours, and the tub should not be used for at least three days after the final coat. Ventilate well and wear a respirator — the fumes are strong. If you are learning how to restore clawfoot tub on a budget, the DIY route is a reasonable compromise, but be honest about the finish: it will not be as hard-wearing as a professional job, so use gentle, non-abrasive cleaners afterwards.
Painting the Exterior and Restoring the Feet
The exterior is where you can make the biggest visual impact for the least money. After priming with a rust-inhibiting metal primer, paint the outside in a colour that suits your bathroom — classic white or cream for a period look, or a deep green, navy or charcoal for a dramatic modern-vintage contrast. Use a good-quality oil-based or epoxy enamel paint, applied with a small foam roller for a smooth finish, at about $25 to $40 a tin. Two thin coats beat one thick one every time.
The feet deserve attention too — and they are a satisfying part of how to restore clawfoot tub on a budget, because new reproduction claw feet cost $40 to $80 each. Strip them, sand them smooth and paint them to match — or, for a touch of glamour, spray them with a metallic gold or chrome-effect paint at around $8 to $12 a can. Replace any missing bolts with stainless steel fixings so they will not rust again, and fit small felt or rubber pads under each foot to protect your floor. Restoring the originals is a genuine saving.
Our Top Picks
Three generic products will cover most budget restorations. First, a DIY tub refinishing kit with epoxy coating, filler and applicators — look for one with good reviews for adhesion and a full curing guide, typically $30 to $60. Second, a rust-converting metal primer for the exterior and feet, which turns surface rust into a paintable surface and costs around $10 to $15. Third, a high-gloss oil-based enamel paint in your chosen exterior colour, plus a small foam roller set, at roughly $25 to $40. Add a tube of silicone sealant and a new drain assembly, about $20 to $35 in total.
Before the tub goes back into the bathroom, sort out the plumbing — the last big-ticket item in how to restore clawfoot tub on a budget. A freestanding tub needs a floor-mounted or wall-mounted tap, and a vintage-style exposed faucet set costs $150 to $400 — often the single biggest expense in the project. Check the drain position: clawfoot tubs usually drain through the floor, and if your existing drain does not line up, a plumber’s visit at $100 to $200 will sort it.
Once it is in place, level the tub carefully with shims under the feet, seal around the drain, and step back. A restored clawfoot tub transforms a bathroom in a way no modern bath can match. That is the heart of knowing how to restore clawfoot tub on a budget: spend where it counts, save where you can, and end up with a centrepiece that looks like it cost ten times what you paid.

GIPHY App Key not set. Please check settings