


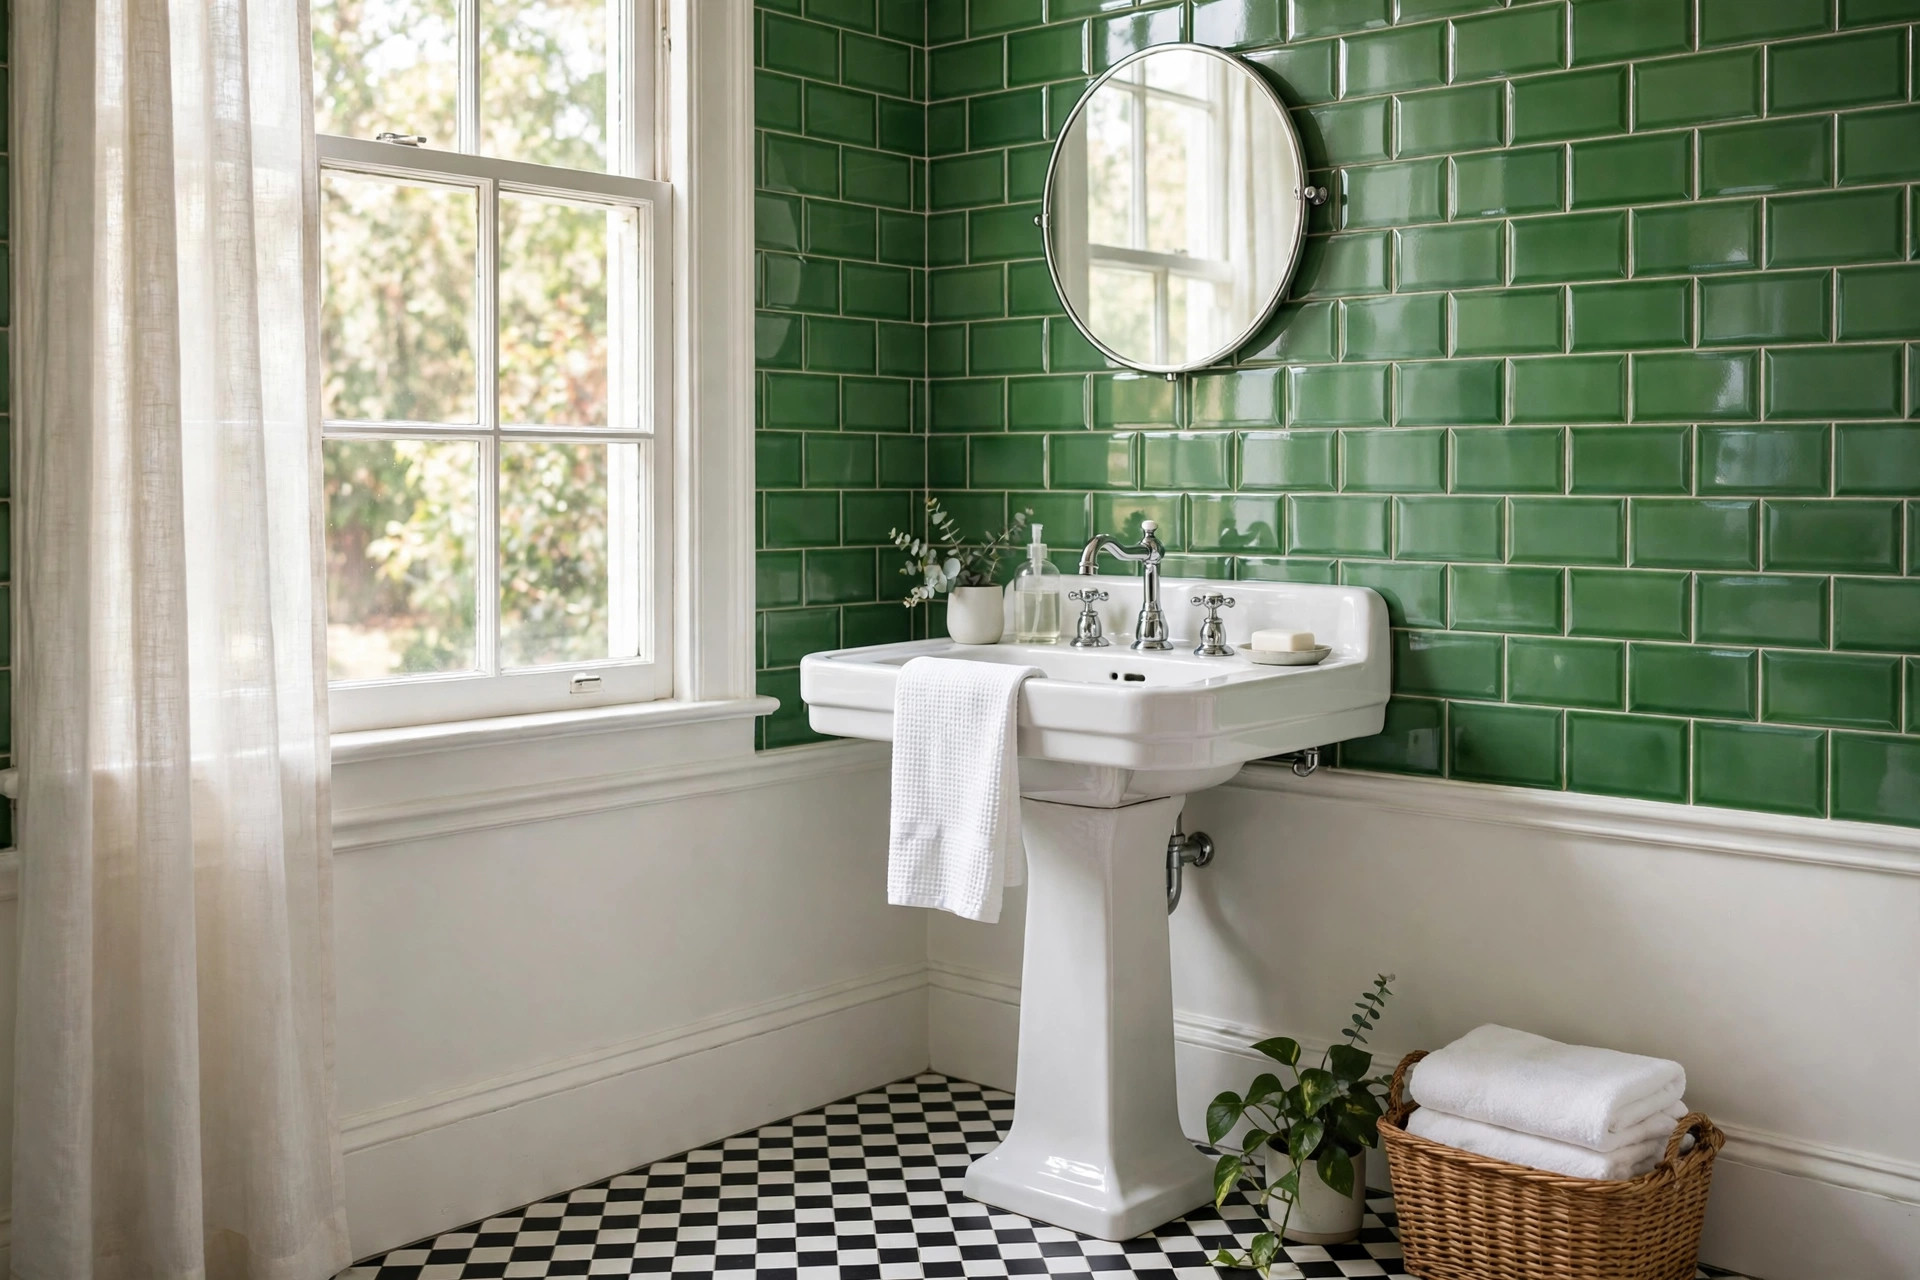
If you are wondering how to clean vintage bathroom tile without damaging it, the short answer is this: clean gently, avoid acids and bleach, and never scrub old glaze with anything abrasive. Vintage tile — the subway tile of the 1920s, the pastel squares of the 1950s, the bold patterns of the 1970s — often has a softer, hand-finished glaze than modern tile. Treat it kindly and it can look stunning for decades. Treat it like a modern builder-grade shower surround and you will scratch, dull or etch it permanently.
Why Vintage Tile Needs a Different Approach
Tile made before the 1980s was typically fired at lower temperatures with lead-based or hand-applied glazes (especially pre-1960s pieces). In my experience, these older glazes scratch more easily and react badly to harsh chemicals. A cleaner that is perfectly safe on a modern porcelain slab can etch the sheen off a 1950s pink bathroom tile in a single application.
Also consider the grout. Old grout is often unsanded and porous, and decades of soap scum, hard water and mildew have worked their way in. The goal is to lift the grime without gouging the grout lines out of the wall.
Start With the Gentlest Method First
When learning how to clean vintage bathroom tile without damaging it, always work up the ladder of strength — never start with the strongest option.
Step 1: Warm water and dish soap. Fill a bucket with warm (not hot) water and a few drops of pH-neutral dish soap. Wipe the tile with a soft microfibre cloth or a soft-bristle brush. This alone removes surface dust, soap film and light grime. Rinse with clean water and dry with a towel to prevent water spots.
Step 2: Baking soda paste for stubborn spots. Mix baking soda with a little water to form a soft paste. Apply it with a cloth, let it sit for 10–15 minutes, then wipe away gently. Baking soda is a mild abrasive — effective but soft enough for most glazed tile. Never use a scouring pad to apply it; use your cloth or a soft toothbrush for grout lines.
Step 3: Hydrogen peroxide for stained grout. For darkened grout lines, apply 3% hydrogen peroxide (the standard brown-bottle kind, about $4 at any pharmacy) directly to the grout, let it fizz for 10 minutes, then scrub with a soft brush and rinse. It brightens without the damage risk of bleach.
A good soft-bristle grout brush costs roughly $8–12, and a gallon of white vinegar — useful for glass, not the tile itself — runs about $4.
What to Avoid (This Is the Important Part)
Bleach. Chlorine bleach can discolour old grout unevenly and, over time, weaken it. It also does nothing for soap scum, which is the main grime on vintage tile.
Acidic cleaners. Vinegar, lemon juice and limescale removers dissolve mineral deposits — but they can also etch older glazes and eat away at cement-based grout. A quick wipe of a vinegar solution on a modern tile is fine; on 1950s pastel glaze, skip it or test first in a hidden spot (behind the toilet is ideal).
Abrasive powders and scouring pads. Cream cleansers with grit, steel wool and the green scouring side of kitchen sponges will micro-scratch old glaze. Once the glaze is scratched, dirt settles into the scratches and the tile looks permanently dull.
Steam cleaners. This one surprises people. A steam cleaner held close to old tile can force moisture behind loose tiles and soften old grout. If you use one, keep it moving and at least 15–20 cm from the surface.
Dealing With Soap Scum and Hard Water Safely
Soap scum on vintage tile responds well to a paste of baking soda and a few drops of dish soap, left to sit for 20 minutes before wiping. For hard-water spots on the glaze, a pH-neutral limescale spray made for natural stone (typically $10–15 a bottle) is a safer bet than a harsh acid descaler — stone-safe formulas are designed not to etch soft surfaces.
For very stubborn mineral buildup around taps, soak a cloth in warm water, lay it over the spot for 15 minutes to soften the deposit, then wipe. Patience beats force with vintage tile, every time.
Always Test in a Hidden Spot First
Every vintage bathroom is different — glaze formulas varied by manufacturer and decade, and what is safe on one tile can mark another. Before using any product beyond soap and water, test it on a tile behind the toilet or inside a cupboard. Apply, wait the full recommended time, rinse, dry and inspect in good light. If the glaze looks duller or the colour has shifted, do not use that product on the visible tile. This two-minute habit is the single most important part of learning how to clean vintage bathroom tile without damaging it.
Maintenance: Keep It Looking Good Between Deep Cleans
A squeegee after showers (about $10) is the single best habit for vintage tile — it prevents soap scum and hard water from building up at all. Ventilate the bathroom well; mildew is grout’s worst enemy and prevention beats any cleaner. Once a month, do the warm-water-and-soap wipe-down, and re-seal porous grout once a year with a grout sealer (roughly $15–20 for a bottle that covers an average bathroom).
When to Call a Professional
If the glaze is already crazed (fine crackle lines), flaking or the tiles sound hollow when tapped, cleaning alone will not save them — that is a restoration job. Likewise, if grout is crumbling out in chunks, a tile specialist can regrout without disturbing the original tiles. In my opinion, original vintage tile in decent condition is almost always worth saving rather than replacing; the character is irreplaceable.
Learning how to clean vintage bathroom tile without damaging it comes down to restraint: gentle products, soft tools, and the discipline to test before you commit. Your retro tile survived 50-plus years — with the right care, it will easily survive 50 more.


GIPHY App Key not set. Please check settings