


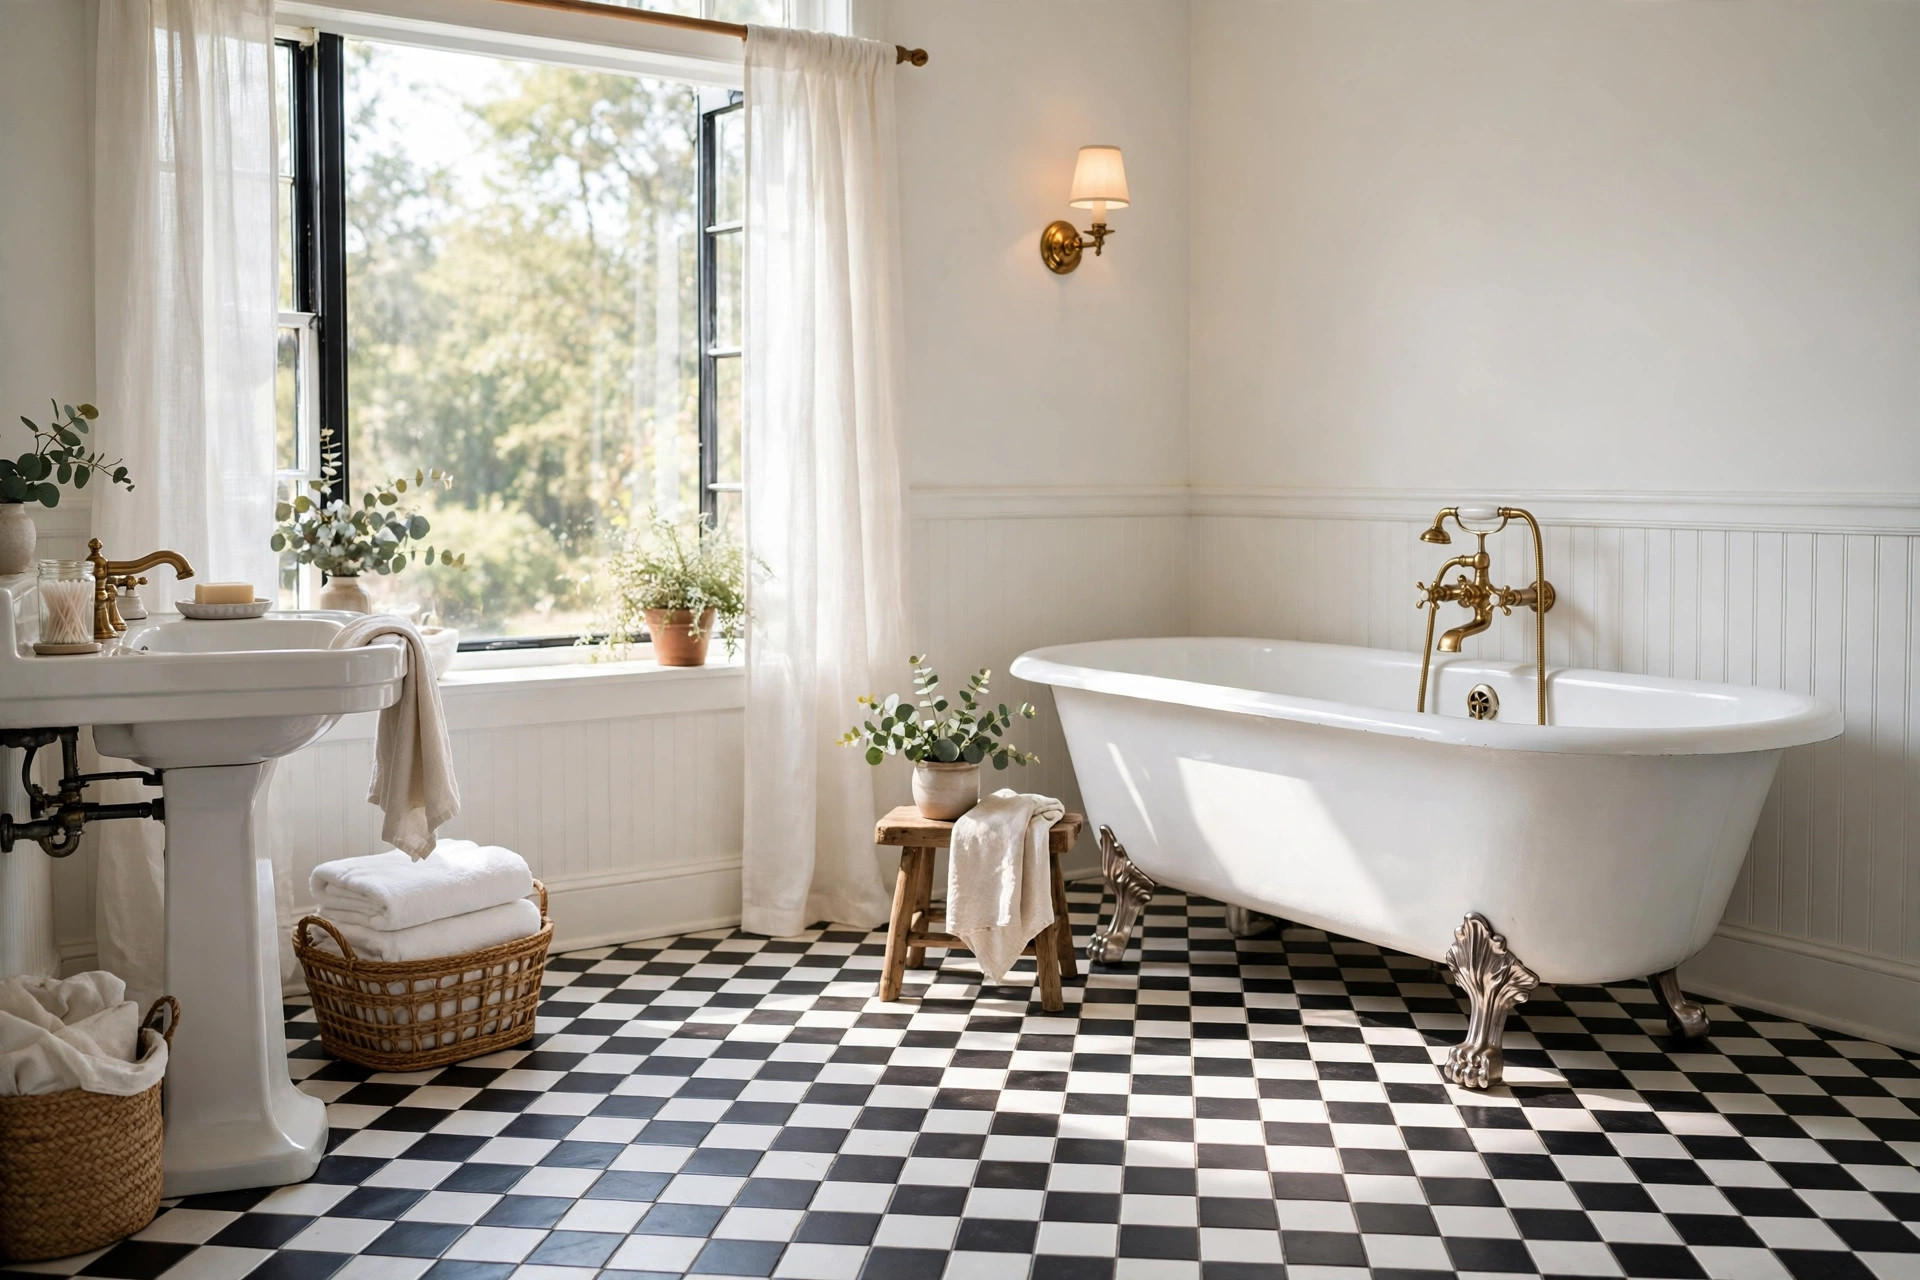
Few floors say “vintage bathroom” like black-and-white checkerboard tile, and a well-kept one can last a century. But tile floors do not fail all at once — they send quiet warnings first, and catching them early is the difference between a weekend repair and a full re-lay. These are the 12 signs your vintage checkerboard tile needs repair, from the obvious to the easy to miss. Walk your floor with this list in hand and you will know exactly where you stand.
Signs You Can See
1. Cracked or chipped tiles. The most obvious sign. Hairline cracks often start at the corners of tiles near the bath or the door, where the floor flexes slightly. A single cracked tile is a simple fix; a pattern of cracks across a wide area suggests the subfloor is moving and needs attention underneath, not just on top.
2. Loose or hollow-sounding tiles. Tap each tile lightly with a wooden spoon handle. A solid tile gives a dull thud; a loose one sounds hollow and drum-like. Hollow tiles have lost their bond to the adhesive bed, usually because water has crept underneath. Left alone, they crack underfoot and let more water in.
3. Missing or crumbling grout. Grout is the floor’s first line of defence against water. When it crumbles, shrinks or goes missing between tiles, moisture reaches the adhesive and the subfloor. Pay particular attention to the grout around the bath, the toilet base and the door threshold, where water exposure is highest.
4. Stained or discoloured tiles. Vintage glazed tiles resist staining well, so a tile that has gone grey, yellow or blotchy is telling you something has soaked in. Unglazed quarry-style checkerboard tiles are more vulnerable; dark patches that do not lift with cleaning usually mean water or oil has penetrated the surface.
5. Efflorescence — a white, powdery bloom. If you see a white crust on the tile surface or along the grout lines, salts are being drawn up through the floor by moisture from below. This is not a cleaning problem; it is a damp problem, and it means water is moving through the floor structure.
6. Tiles that have shifted or sit unevenly. Run your hand across the floor. If you can feel lips and steps between neighbouring tiles, some have lifted or sunk. This is called lippage, and it is both a trip hazard and a sign that the bed beneath the tiles is failing.
Signs You Can Feel or Smell
7. A spongy or springy feel underfoot. A tile floor should feel absolutely rigid. If any area gives slightly when you step on it, the subfloor beneath has softened — usually from long-term damp. This needs prompt investigation, because a soft subfloor will keep breaking tiles above it.
8. A musty smell that cleaning never fixes. Persistent damp under tiles breeds mildew in the adhesive and the subfloor. If the bathroom smells musty even after a thorough clean and good ventilation, the source may be under the floor rather than on it.
9. Cold, damp patches on the floor. Tiles that stay cold and slightly damp to the touch long after a shower, while the rest of the floor dries, are sitting over a damp spot. In winter this is easy to spot: condensation gathers on the affected tiles first.
Signs Around the Edges
10. Gaps where the floor meets the wall or the bath. The sealant or grout at the floor’s edges takes the most movement as the house settles. Gaps here let water run straight under the tiles, so any visible separation between the floor and the skirting, the bath panel or the toilet base deserves immediate attention.
11. Staining on the ceiling below. If there is a room beneath your bathroom, check its ceiling for brown rings or peeling paint directly under the tiled floor. This is one of the clearest signs that water is passing through the tile bed — and it often shows up before the floor itself looks damaged.
12. Grout that stays dark after drying. Healthy grout dries to its original colour within a few hours of a shower. Grout that stays dark for a day or more is holding water, which means it has become porous or the waterproofing beneath has failed.
What to Do About It
If you found one or two signs, the fix is usually local: replace the damaged tiles, rake out and re-grout the failed joints, and reseal. Matching vintage tiles is the tricky part — salvage yards, architectural reclamation shops and specialist tile suppliers are your best sources, and it is worth buying a few spares when you find a match. A single replacement tile, fitted by a confident DIYer, costs little more than the tile itself plus adhesive and grout.
If you found five or more signs, or any combination involving a spongy floor, efflorescence or ceiling staining below, get a professional tiler or builder to look at the subfloor before you spend money on surface repairs. Lifting a section of tile to inspect the floor beneath is a bigger job, typically $500 to $1,500 depending on the area, but it is far cheaper than relaying a floor that keeps failing because the real problem was never addressed.
Protecting a Repaired Floor
Once repairs are done, protect the result. Seal unglazed tiles with a penetrating stone or tile sealer, and reapply it once a year. Keep grout sealed with a grout sealer, especially around the bath and toilet. Wipe up standing water rather than letting it sit, and use a bath mat in front of the tub to catch the daily splashes. A checkerboard floor that is sealed, dry and inspected once a year will outlast the rest of the bathroom — and keep looking wonderful while it does.


GIPHY App Key not set. Please check settings