


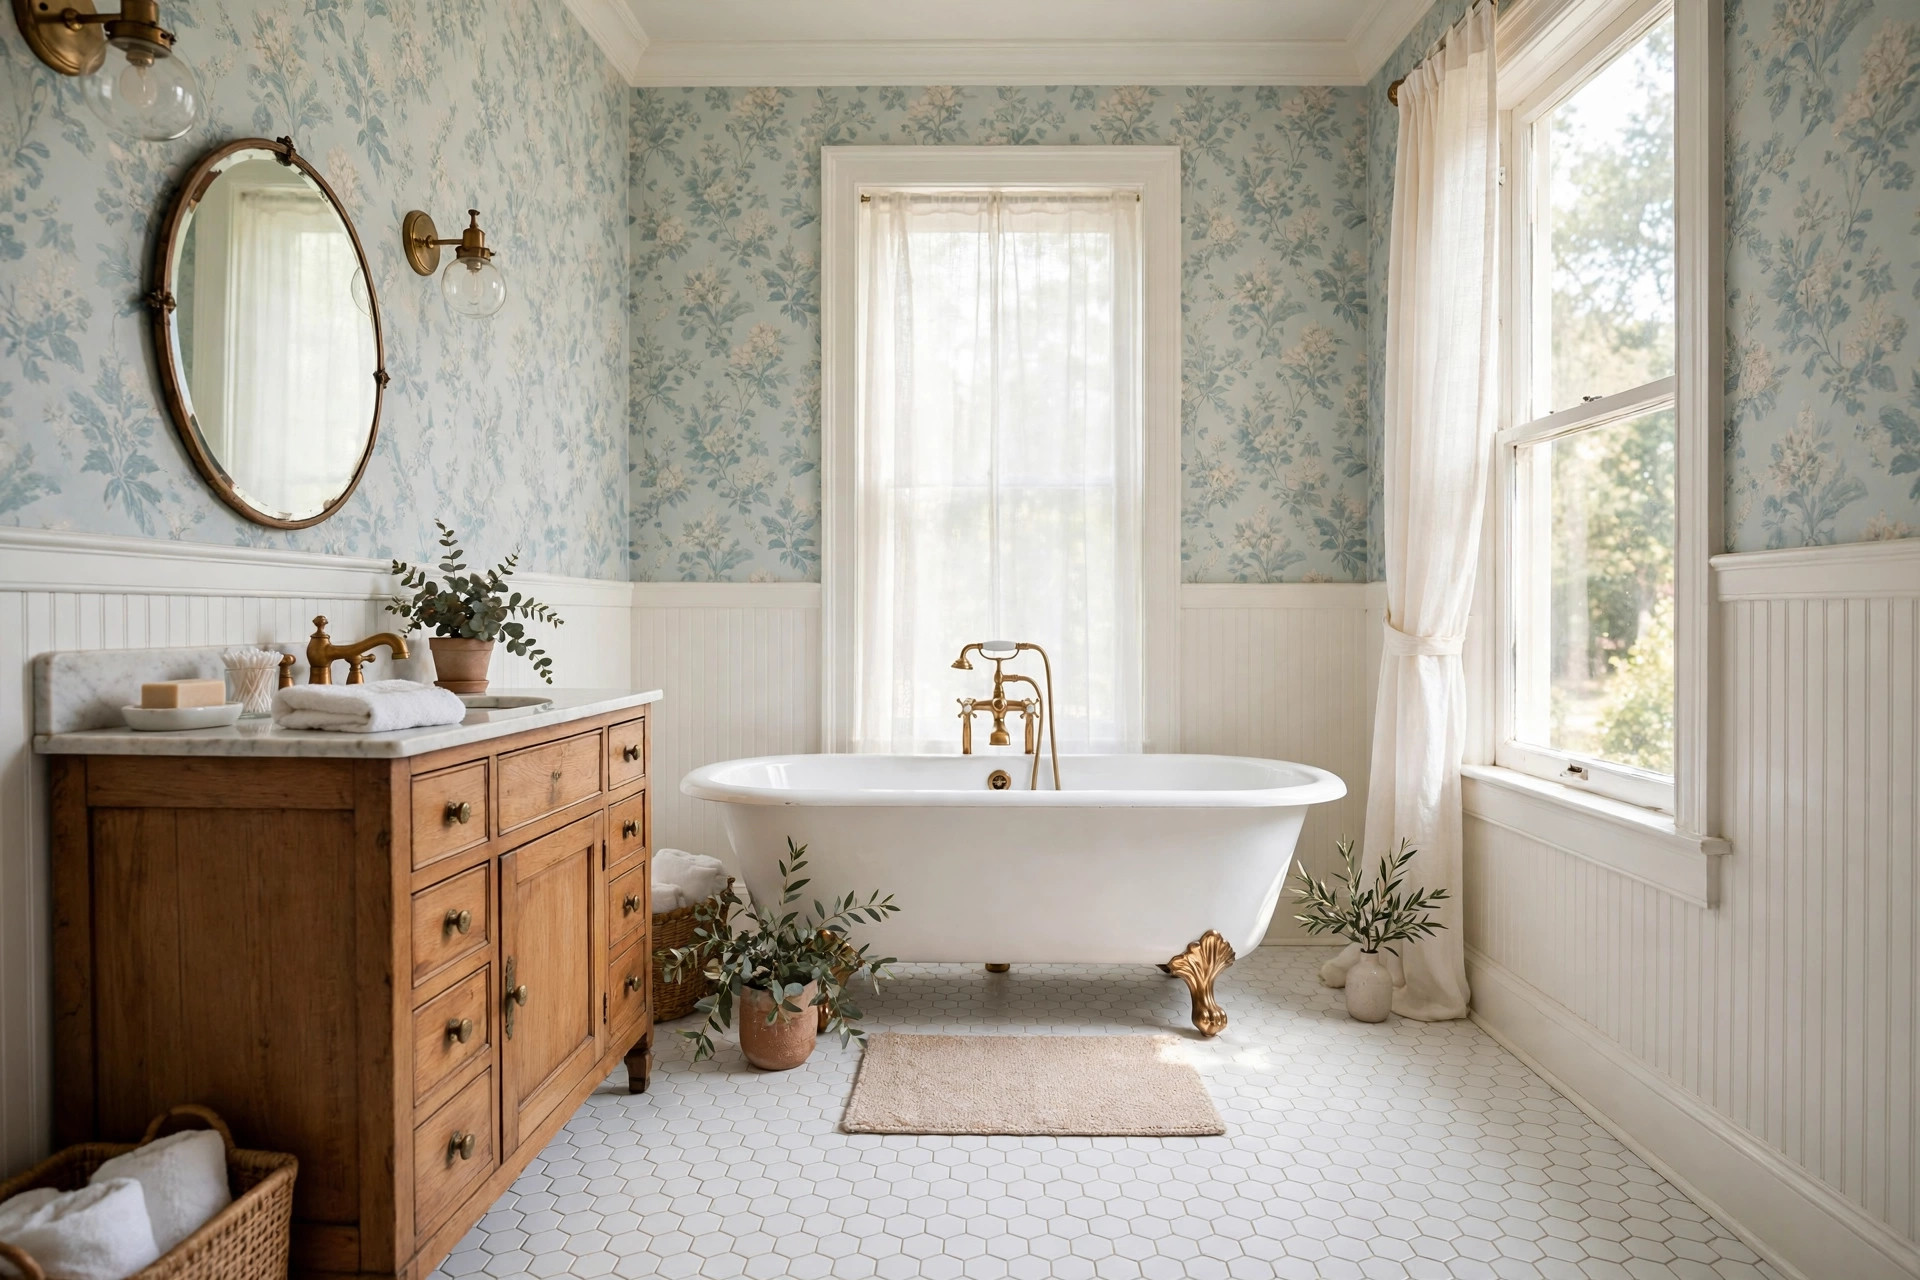
Hexagon tiles — those charming honeycomb shapes that defined 1920s bathroom floors — are tougher than they look, but they have one enemy that never rests: moisture. Learning how to protect hex tiles from moisture damage is essential if you want your vintage floor to last another century, because water does its worst work slowly, creeping into grout lines, loosening tiles, and staining the glaze long before you notice anything wrong. The good news is that prevention is straightforward, inexpensive, and mostly a matter of sealing, ventilation, and a few good habits.
Why Hex Tiles Are Vulnerable to Moisture
Hex tiles share a weakness with their cousin, the penny tile: geometry. A floor of 1-inch or 2-inch hexagons contains far more grout per square foot than a floor of large square tiles, and every grout line is a potential channel for water. Vintage hex tiles are usually ceramic with a glazed face but unglazed edges and backs, so once water gets past the grout, it can wick into the tile body itself.
The damage shows up in stages. First comes discoloration — grout turns grey or yellow, and white tiles develop faint shadows near the shower or tub. Next comes efflorescence, the white powdery crust that appears when water carries dissolved minerals to the surface and evaporates. Left unchecked, moisture softens the thinset mortar beneath the tiles, and individual hexagons start to sound hollow when tapped, then loosen, then crack underfoot. In the worst cases, water reaches the subfloor, where it can cause rot and mold that costs thousands to repair. Catching the problem at the discoloration stage costs a bottle of sealer; catching it at the subfloor stage costs a renovation.
Seal the Grout — and the Tile
Sealing is the single most effective thing you can do for a hex tile floor. Start with a clean, completely dry floor — wait at least 24 to 48 hours after mopping before sealing, because sealer traps whatever moisture is already in the grout. Choose a penetrating sealer rather than a topical one: penetrating sealers soak into the grout and repel water from within, while topical sealers sit on the surface and wear away underfoot. A quart of quality penetrating sealer costs $20 to $40 and covers roughly 150 to 200 square feet of grout lines, more than enough for a typical bathroom.
Apply it with a small foam brush or an applicator bottle, working it into every grout line. Wipe excess off the tile faces within five to ten minutes, before it dries to a haze. Two thin coats are better than one thick coat — allow at least an hour of drying time between coats, and keep the room dry for 24 hours after the final coat. If your hex tiles are unglazed or matte — common in handmade and vintage-look tiles — seal the tile faces as well, using the same product. Test first in a hidden corner, since sealer can slightly deepen the color of some matte glazes.
Reseal on a schedule, not when you notice a problem. Once a year for a heavily used shower bathroom, every two years for a guest bathroom. A quick test tells you when it is time: flick a few drops of water onto the grout. If they bead up, the sealer is still working. If they darken the grout within a minute, it is time to reseal.
Ventilation and Everyday Habits
Sealer protects the grout, but ventilation protects the whole room. A bathroom fan rated for your room’s size — roughly one cubic foot per minute (CFM) per square foot of floor area, so an 80 CFM fan for an 80-square-foot bathroom — should run during every shower and for at least 20 to 30 minutes afterward. If your fan is old, noisy, or weak, replacing it costs $80 to $200 for the unit plus installation, and it is one of the best investments you can make in a vintage bathroom.
Daily habits do the rest. Squeegee shower walls and the floor near the tub after use; it takes less than a minute and removes the standing water that does the most damage. Keep a bath mat outside the tub and wash it weekly so it does not trap moisture against the tile. Wipe up puddles promptly rather than letting them air-dry on the grout. And mop with a pH-neutral tile cleaner, not vinegar or bleach: acidic cleaners slowly eat grout and degrade sealer, while bleach can discolor colored grout. Plain warm water with a drop of neutral cleaner is all a hex floor needs most weeks.
Fixing Early Signs of Damage
If you spot trouble early, repairs are small. For stained or powdery grout, scrub the joints with a soft brush and a pH-neutral grout cleaner, let the area dry fully, then reseal. For a single loose hexagon, carefully lift it with a putty knife, scrape out the old thinset, butter the back with fresh thinset mortar (a small tub costs around $15), press the tile back into place, and re-grout the joints once the mortar has cured for 24 hours. Keep a few spare tiles on hand — matching vintage hex tiles can be hard to find, so save any extras from your original installation.
Hollow-sounding tiles that have not yet loosened can sometimes be saved by injecting a thin epoxy or grout adhesive beneath them through a tiny drilled hole, but this is fiddly work; if more than a handful of tiles sound hollow, call a tile professional for an assessment before the problem spreads. And if you see mold, bubbling paint on the baseboards, or a musty smell that will not go away, the moisture has likely reached the subfloor — stop using the shower in that room and get a professional inspection. Early intervention is always cheaper than a rebuild.
A Simple Maintenance Schedule
Prevention works best as a routine, not a rescue. Weekly: mop with a neutral cleaner and check for standing water near the tub and shower. Monthly: inspect grout lines for discoloration or cracks, and clean the fan cover so airflow stays strong. Every six months: do the water-bead test on the grout and touch up any cracked grout with fresh grout and sealer. Annually: reseal the whole floor, check the caulk around the tub and shower (re-caulk if it is cracked or pulling away — a tube of silicone caulk costs under $10), and confirm the fan still moves air properly.
Hex tiles survived a hundred years of daily showers because they are made well and installed well. With a bottle of sealer, a working fan, and a squeegee, yours can survive a hundred more. Moisture damage is not bad luck — it is what happens when small maintenance is skipped for years. Stay ahead of it, and your honeycomb floor will keep its charm for generations.



GIPHY App Key not set. Please check settings