


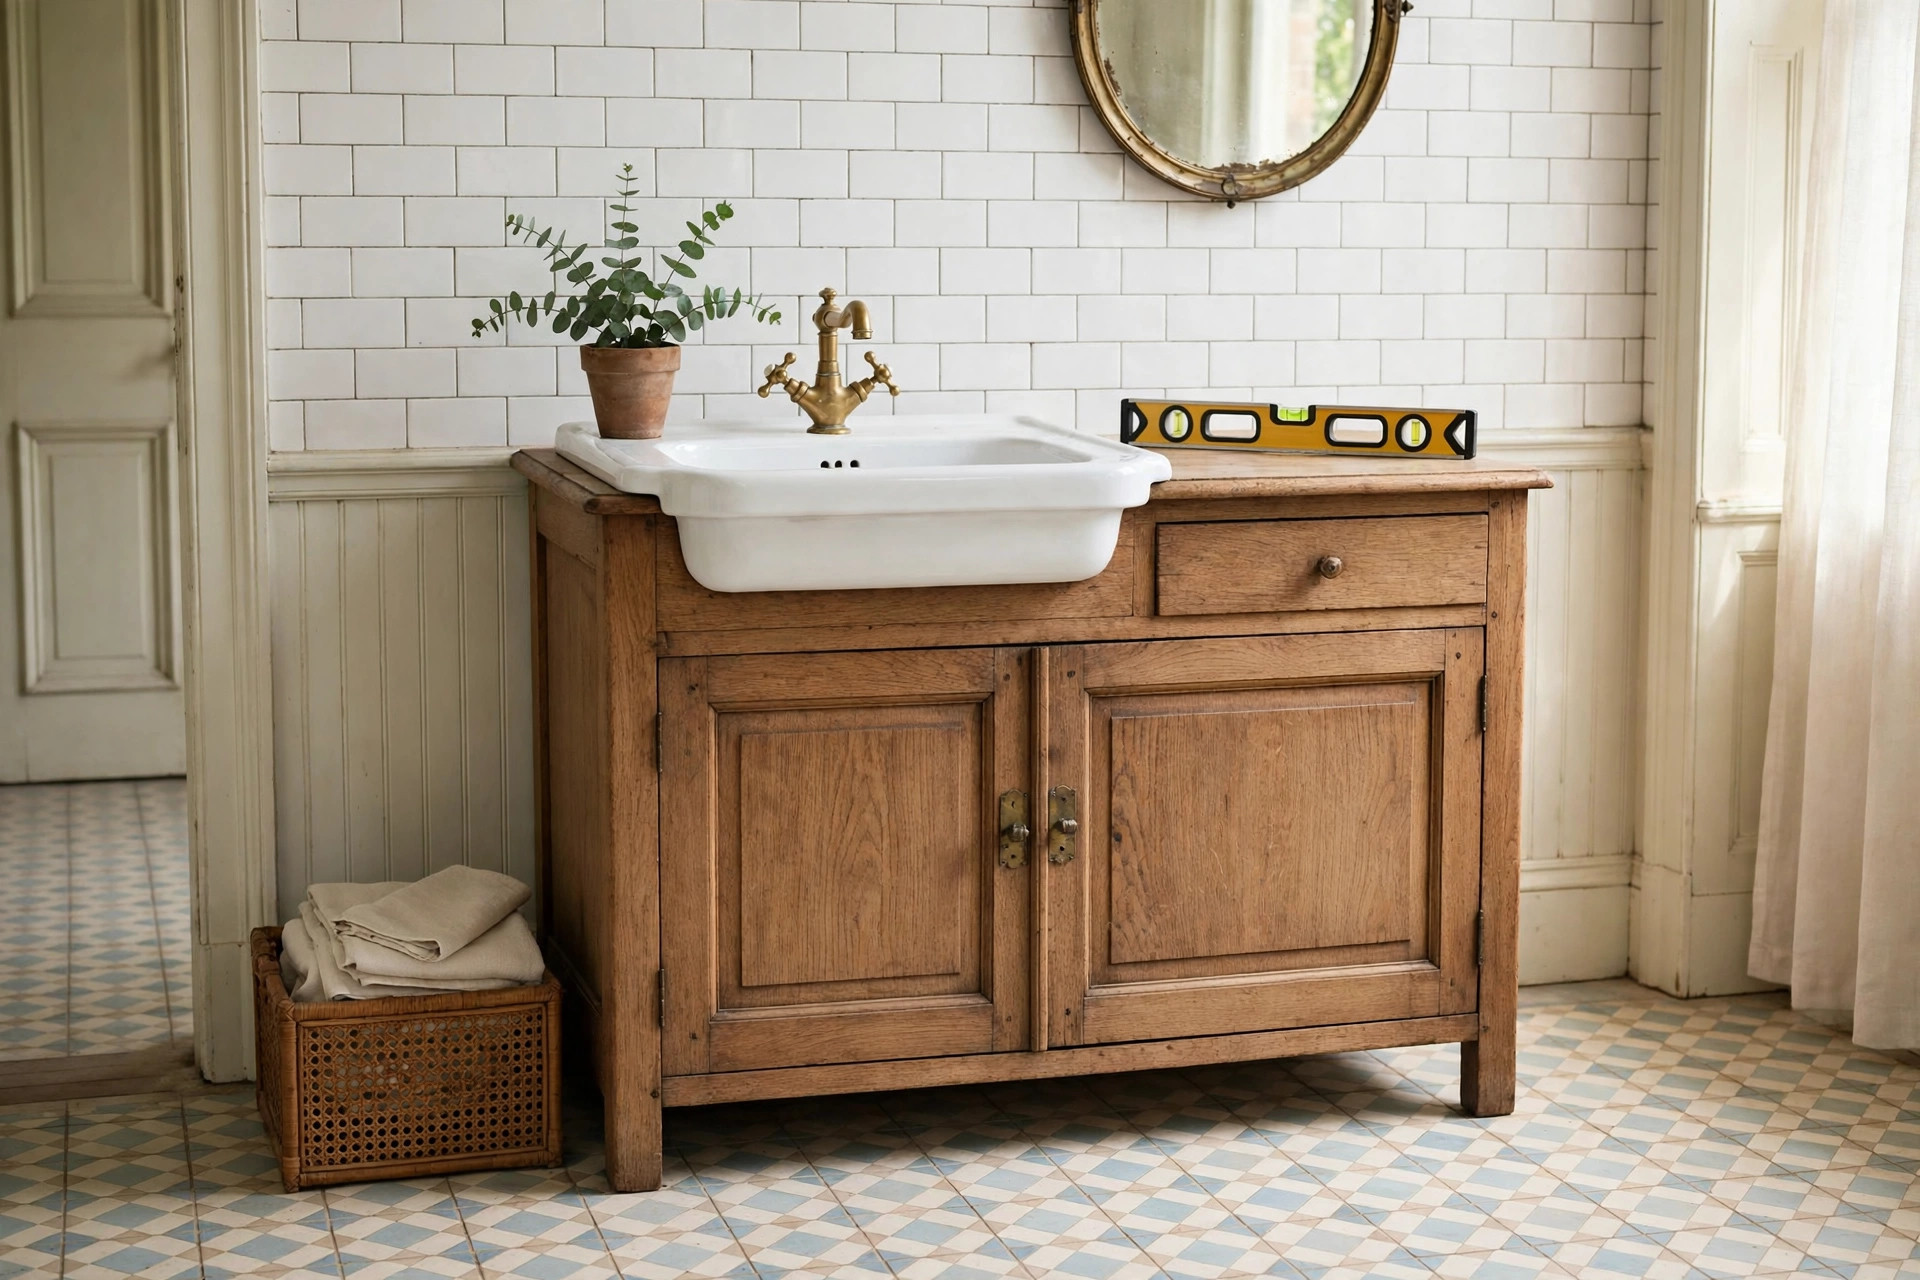
How to level a bathroom vanity on an uneven floor is one of those jobs that sounds intimidating and turns out to be quietly satisfying. Old houses settle, floorboards cup, tiles are laid over imperfect subfloors, and sooner or later a vanity rocks, a drawer sticks, or a basin sits visibly out of true. The good news is that levelling a vanity is a straightforward job, and in most cases it needs nothing more exotic than a spirit level, a pack of shims, and a patient hour.
First, Find Out How Uneven the Floor Really Is
Before you touch the vanity, find out what you are dealing with. Set a spirit level — a 60-centimetre level is ideal, but a 30-centimetre one works — on the floor where the vanity will sit, first left to right, then front to back. A gap of 3 to 6 millimetres under one end of the level is common in older homes and easy to correct. A gap of 10 millimetres or more suggests the floor has a real slope or a dip, and you should look more carefully before shimming your way out of it.
Check the floor itself: press tiled areas for loose tiles, and look for flexing boards or soft spots that suggest rot — a vanity should never be levelled onto a floor that is not sound. A quick check now saves a wobbly vanity later.
What You Will Need
The tool list is short, which is part of the charm. You will need a spirit level, a pack of wooden or composite shims (about $5 to $10), a pencil, a utility knife or a fine saw for trimming shims, a screwdriver or drill, and some silicone sealant in a colour that matches your floor or vanity. A second pair of hands helps when the vanity is heavy, and a small torch helps you see under the cabinet.
Note: this guide covers floor-standing vanities; a wall-hung vanity is levelled at its wall bracket instead, which must be fixed into solid structure, not just plasterboard.
Step by Step: Shimming a Floor-Standing Vanity
Move the vanity into position and check it with the level across the top edge, both ways — trust the level on the vanity, not the floor. If the vanity rocks when you press on a corner, note which corner lifts — that is the corner that needs a shim. With a helper steadying the vanity, slide a shim under the low corner and tap it gently into place, checking the level after each tap.
Work in small increments, and shim both front feet and back feet as needed — a vanity that is level left to right but still slopes front to back will make its doors swing open or shut by themselves, which is the classic sign of a half-finished job. Once the top reads level both ways, check the basin too if fitted, and open the doors and drawers — they should move freely and stay where you leave them.
When the vanity is level, mark the shims and trim them flush — a protruding shim looks unfinished and collects dust. If the gap is more than about 10 millimetres, stack two shims or scribe a plinth to the floor’s shape.
Securing the Vanity So It Stays Level
A level vanity that is not secured will drift. The wall fixing is what keeps the unit from tipping forward when a drawer is opened. Find the fixing points on the back of the cabinet — usually two screws through the back panel into the wall — and fix them into a stud or a solid wall plug, not just plasterboard. Use a stud finder to locate the studs; in a tiled bathroom, drill carefully with a masonry bit and a suitable wall plug.
Once the vanity is screwed to the wall, recheck the level. Tightening the wall fixings can pull a vanity very slightly out of true, especially if the wall itself is not flat, so a final check and a small shim adjustment at this stage is normal. Then run a neat bead of silicone sealant where the vanity meets the wall and along any gap at the floor, smooth it with a wet finger, and leave it to cure for 24 hours.
Adjustable Feet and Other Approaches
Many modern vanities come with adjustable feet, and these make the job considerably easier. Each foot screws up or down independently, so you can level the unit by turning the feet rather than shimming. The technique is the same: level across the top, adjust the low corner first, then fine-tune front to back. Once level, lock the feet if they have a locking nut, and check the level again after locking — the act of tightening can shift things by a millimetre or two.
For a consistent slope, scribing a wooden plinth to the floor’s shape gives the neatest result. If the tiles themselves are uneven, a thin bed of tile adhesive or a levelling compound before installation solves the problem at its root.
Mistakes to Avoid, and When to Call a Professional
Common mistakes: shimming only the rocking corner and ignoring the front-to-back level, which leaves swinging doors; over-shimming, which lifts the vanity off its other feet; forgetting the wall fixing; and sealing with silicone before the vanity is truly level — sealant is a finishing step, not a structural one.
Call a professional if the floor slopes more than about 15 millimetres across the vanity’s footprint, the floorboards are soft, the wall cannot take a fixing, or the plumbing needs moving. Expect $100 to $250 for a straightforward levelling and fixing job.
Take your time, trust the level rather than your eye, and your vanity will sit quietly and correctly for years.



GIPHY App Key not set. Please check settings